cPFence offers a powerful, browser-based WebUI for managing your Enhance cluster. The WebUI is fully mobile-friendly, allowing you to manage your entire cluster from any device—including your phone or tablet. You can apply bulk actions such as enabling Redis caching across an entire cluster, on a specific server, or just for selected sites—all from one place.
Enable Redis Caching in Bulk (WebUI Method)
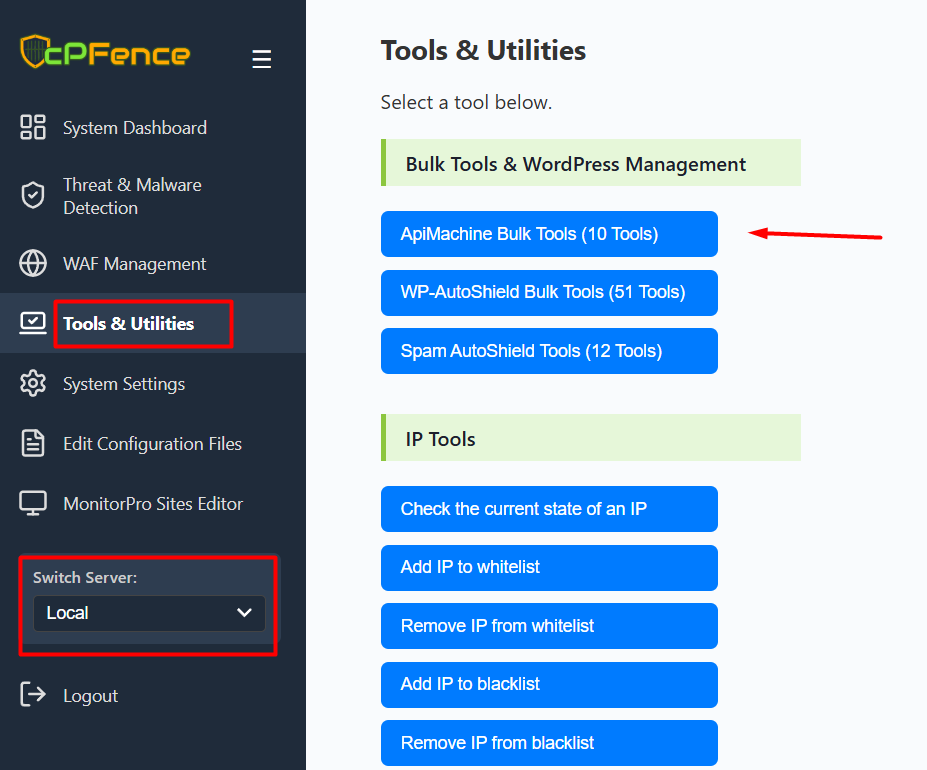
- Open the cPFence WebUI on your Main Control Panel server.
- Use the Switch Server dropdown in the left menu to choose the server you want to manage, or leave it set to Local for the current server.
- Go to Tools & Utilities and select ApiMachine Bulk Tools.
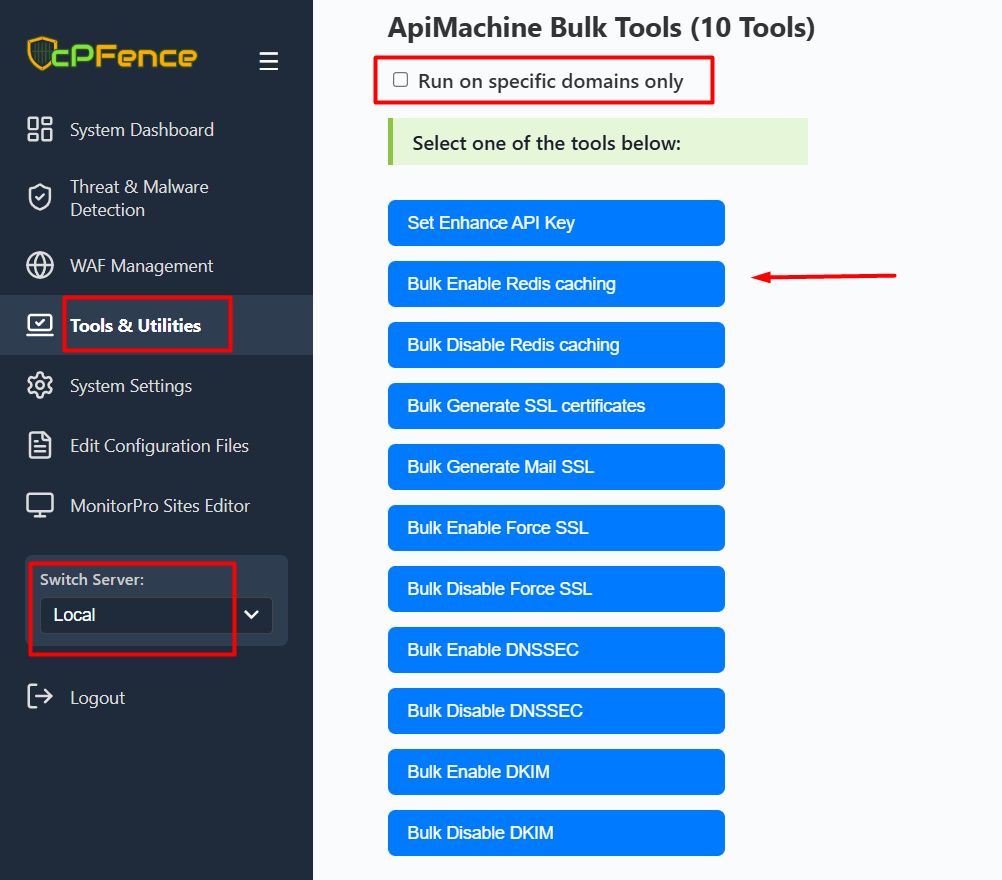
- Click Set Enhance API Key and enter your Enhance API key if required.
- To apply Redis caching only to certain domains, check the Run on specific domains only box and select the desired sites. Otherwise, leave it unchecked to apply to all domains.
- Click Bulk Enable Redis Caching to apply Redis caching for your selected domains, server, or cluster.
This will automatically enable Redis caching on all supported sites you select.
Command Line (CLI) Method
- SSH into your Main Control Panel server.
- To refresh the list of domains, run:
cpfence --generate-cluster-sites-list - Edit
/var/log/cpfenceav/cluster-sites-list.txtto remove any domains you want to exclude from enabling Redis caching. - Run the following command to start the bulk enable process:
cpfence --bulk-enable-redis-cluster - Confirm when prompted. Redis caching will be enabled on all domains listed, and you will see a status for each site.
Failed domains will be shown in the output along with the reason.
Need Further Assistance?
Visit our Knowledgebase or contact our support team for help.
