This guide will help you block or whitelist specific user agents in cPFence. You can manage these settings easily and ensure they are preserved across cPFence updates.
cPFence detects and blocks over 1000 known bots by default, helping to reduce server load and stop various automated attacks. The WebUI also lets you easily manage custom User-Agent blacklists and whitelists—no SSH or manual file editing needed. This ensures both protection and flexibility for hosting providers.
How to Manage User-Agent Blacklist and Whitelist from WebUI
- Open the cPFence WebUI on your Main Control Panel server.
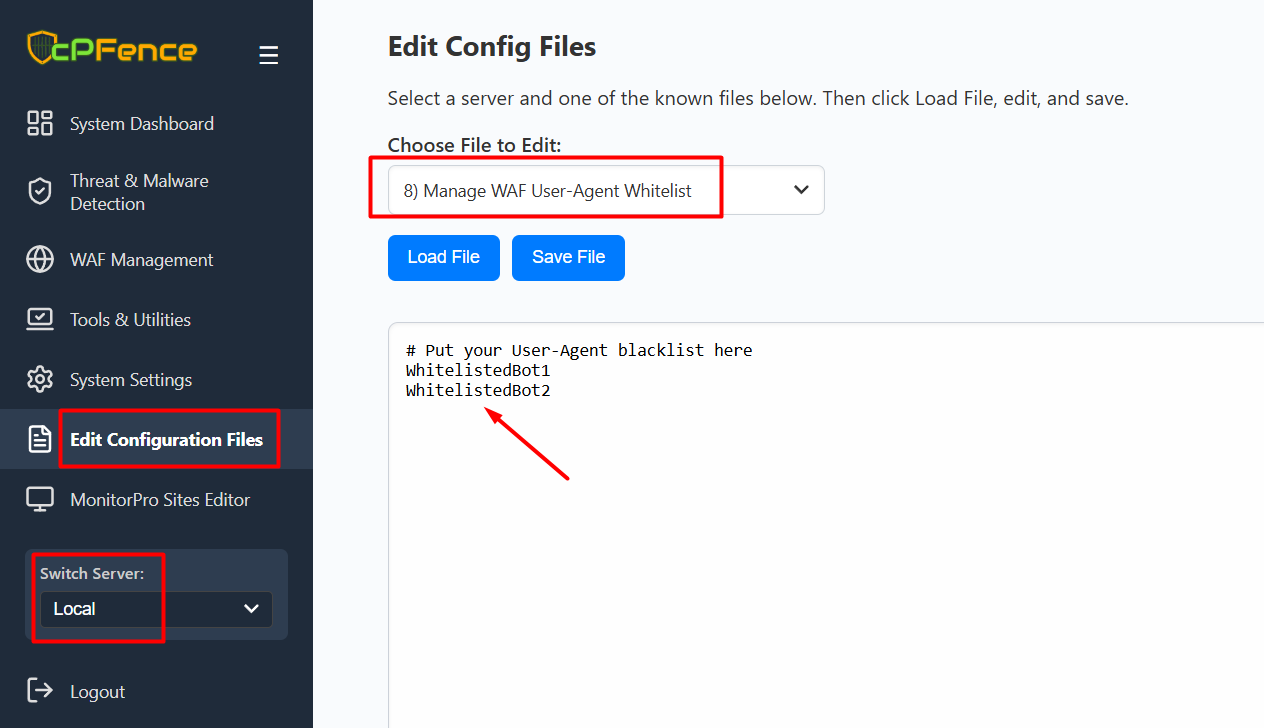
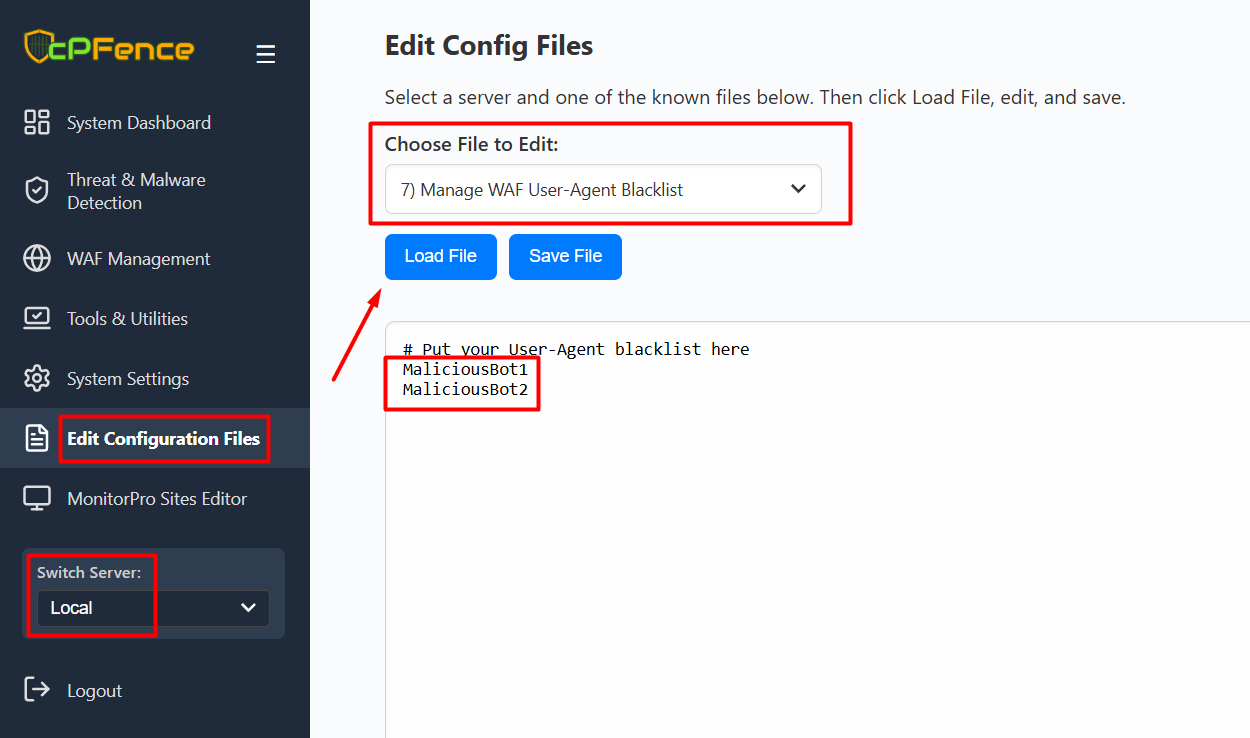
- From the left sidebar, click Edit Configuration Files.
- Choose the target server from the Switch Server dropdown.
- In the Choose File to Edit dropdown:
- Select 7) Manage WAF User-Agent Blacklist to edit the blacklist.
- Select 8) Manage WAF User-Agent Whitelist to edit the whitelist.
- Click Load File to view and edit the list. Enter one User-Agent per line.
- Click Save File when you’re done.
Managing User Agents from CLI
You can also manage User-Agent blacklists and whitelists directly by editing the configuration files via the terminal.
- To edit the blacklist:
nano /opt/cpfence/app/cpfwaf/userdata_bl_agents- To edit the whitelist:
nano /opt/cpfence/app/cpfwaf/userdata_wl_agentsEnter one User-Agent per line. After editing, no restart is needed—changes apply automatically.
Default SEO Bot Whitelisting
Popular SEO and search engine bots are already whitelisted by default to prevent accidental blocking and reduce support requests. Example bots:
AhrefsBot
dotbot
rogerbot
SplitSignalBot
SemrushBot
SiteAuditBot
You can add or remove any User-Agent in the WebUI or via CLI at any time.
Notes
- The changes will be preserved even after updating cPFence.
