If your custom ModSecurity rules aren’t taking effect, it’s often due to duplicate rule IDs or manual file edits. We recommend using the cPFence WebUI or CLI to add custom rules, which automatically manages unique IDs for you. Manual editing of the rules file is for advanced users only.
Recommended Methods to Add Custom WAF Rules
To avoid ID conflicts and ensure proper loading, add rules using one of these methods rather than editing the file by hand:
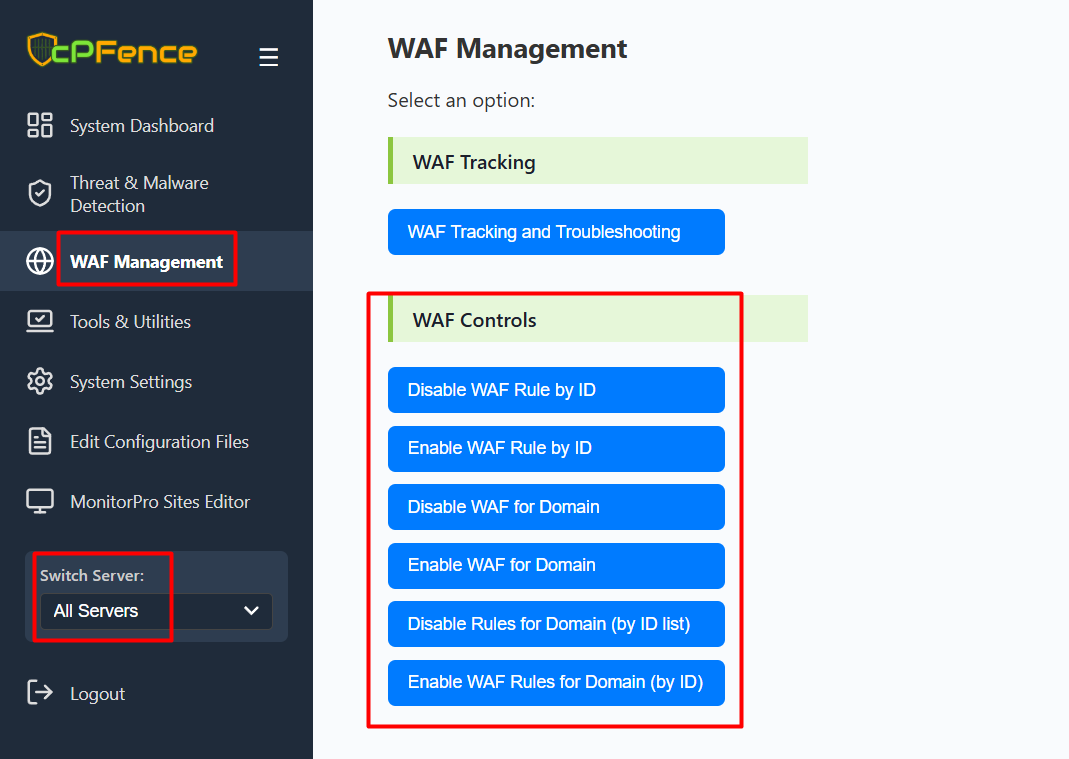
- WebUI: Go to WAF Management > WAF Controls .
- CLI: Run
cpfence | grep wafand follow the prompts.
These tools place your rules in /opt/cpfence/user-config/cpfwaf/whitelist_ols.conf and assign IDs automatically (6001, 6002, 6003, …).
Common Pitfall: Duplicate Rule IDs
ModSecurity requires each rule to have a unique ID ( In your cPFence Custom rules , use only the 6000+ range!). Duplicate IDs or IDs from a different range in your custom rules file will prevent rules from loading.
How to Check and Fix Duplicate IDs
- Open your custom rules file:
nano /opt/cpfence/user-config/cpfwaf/whitelist_ols.conf - Look for entries with the same
id:value. Example:SecRule REQUEST_URI "@beginsWith /example-path" "id:6001,phase:1,pass,ctl:ruleEngine=Off" SecRule REQUEST_URI "@beginsWith /example-path" "id:6001,phase:1,pass,ctl:ruleEngine=Off" - Remove or renumber duplicates so each rule has a unique ID (e.g., 6001, 6002, 6003).
- Save the file and restart your web server.
Need Further Assistance?
If you encounter any issues or need additional help, feel free to reach out to our support team via your client portal.
