How to Use the cPFence WAF Testing Tool ?

To manually test the WAF (Web Application Firewall) on your WordPress site, you can trigger common WAF rules by visiting specific URLs or performing actions that may be flagged by the firewall. Here are a few URL examples you can try:


1- SQL Injection Test

   Append this to your URL to simulate a basic SQL injection attempt:

https://example.com/?id=1' OR '1'='1

2. Cross-Site Scripting (XSS) Test

Append this to your URL to simulate an XSS attempt:

https://example.com/?test=<script>alert(1)</script>

3. Directory Traversal Test

Append this to simulate directory traversal:

https://example.com/?file=../../../../etc/passwd


Each of these tests should trigger your WAF if it's configured correctly. Make sure you are monitoring your WAF logs to see how it responds to these simulated attacks.


Also you can use the cPFence WAF Testing Tool, available at cPFence WAF Test, is a simple tool designed to help you verify if your cPFence Web Application Firewall (WAF) is active and functioning correctly.

Steps to Use the Tool:

  1. Access the Tool:

  2. Enter Your Website URL:

    • Input the URL of the website where you've deployed cPFence WAF.
  3. Run the Test:

    • Click on the “Check Protection” button. The tool will quickly check if the WAF is active on your site.
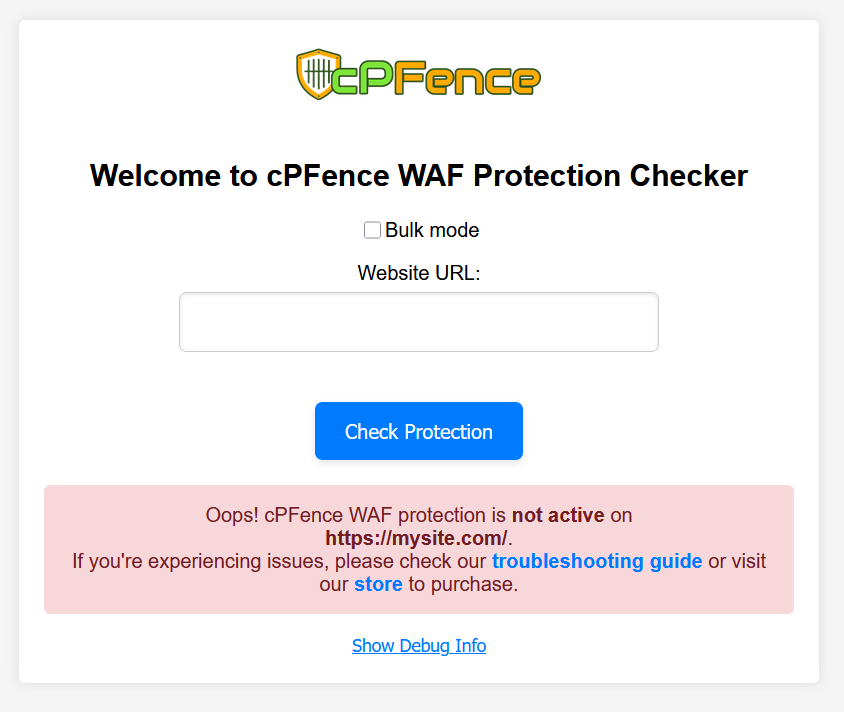
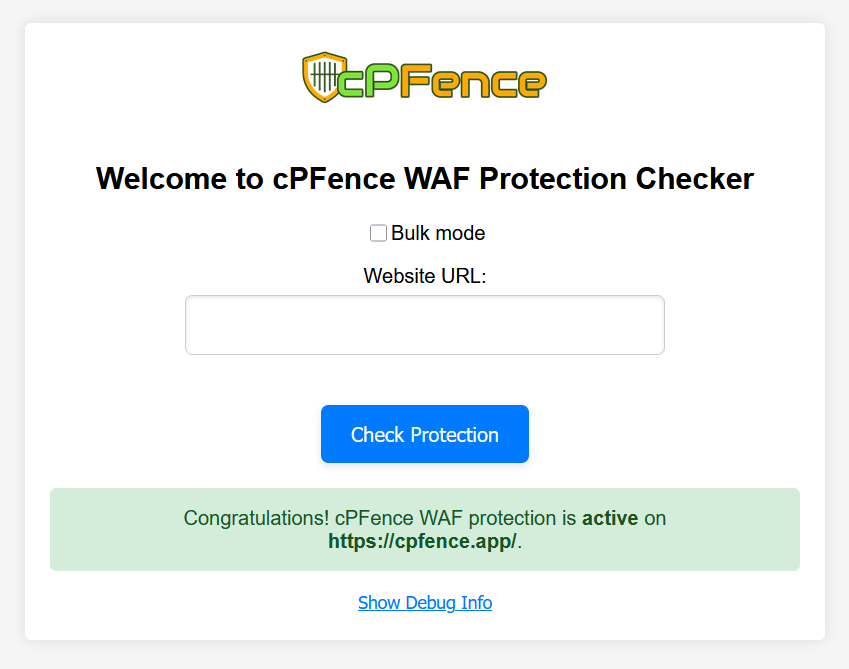
  4. Check the Results:

    • The tool will display a message indicating whether the cPFence WAF is active or inactive on your site.

Important Note:

  • Simple Verification: This tool is intended for a quick check to confirm the presence of cPFence WAF. For in-depth security testing, additional tools and methods should be used.
  • Compatibility with Other Security Plugins:The tool may sometimes indicate that the WAF is inactive, especially if you have installed "NinjaFirewall" or similar security solutions. Don’t worry—cPFence WAF is functioning correctly and is fully compatible with all WordPress security plugins.
    To verify that cPFence WAF is working, you can tail the logs by running the following command:
For OLS users :

docker exec openlitespeed tail -f /usr/local/lsws/logs/security_audit.log

For Litespeed users :

docker exec litespeed tail -f /usr/local/lsws/logs/security_audit.log

This will allow you to check the security audit logs to confirm that the WAF is actively protecting your site.


Using this tool is an easy way to ensure that your cPFence WAF is properly installed and protecting your web application. If you need further help don't hesitate to contact support team.


  • 0 Users Found This Useful
Was this answer helpful?

Related Articles

How to Enable / Disable WAF Rule by ID ?

This guide provides instructions for enabling and disabling specific WAF rules in cPFence for...

How to Enable / Disable WAF?

This guide provides simple instructions for enabling and disabling the Web Application Firewall...

How to Block or Whitelist Certain User Agents ?

This guide will help you block or whitelist specific user agents in cPFence. You can manage these...

How to Identify Problematic WAF Rule IDs in cPFence?

When your website encounters a WAF-related error (typically a 403 Forbidden error), you may need...

Whitelisting and Managing WAF Rules in cPFence

To manage the OpenLiteSpeed (OLS)/LiteSpeed (LS) Web Application Firewall (WAF) through cPFence,...