See also: How to Restore Files from Quarantine
The Auto Quarantine feature in cPFence allows detected malware to be automatically isolated by moving infected files to a quarantine directory. This prevents the spread or execution of harmful files while keeping your system secure.
Managing Auto Quarantine from the WebUI
cPFence includes a powerful WebUI that works seamlessly on desktop and mobile. You can enable or disable quarantine across all servers or specific servers from a single panel.
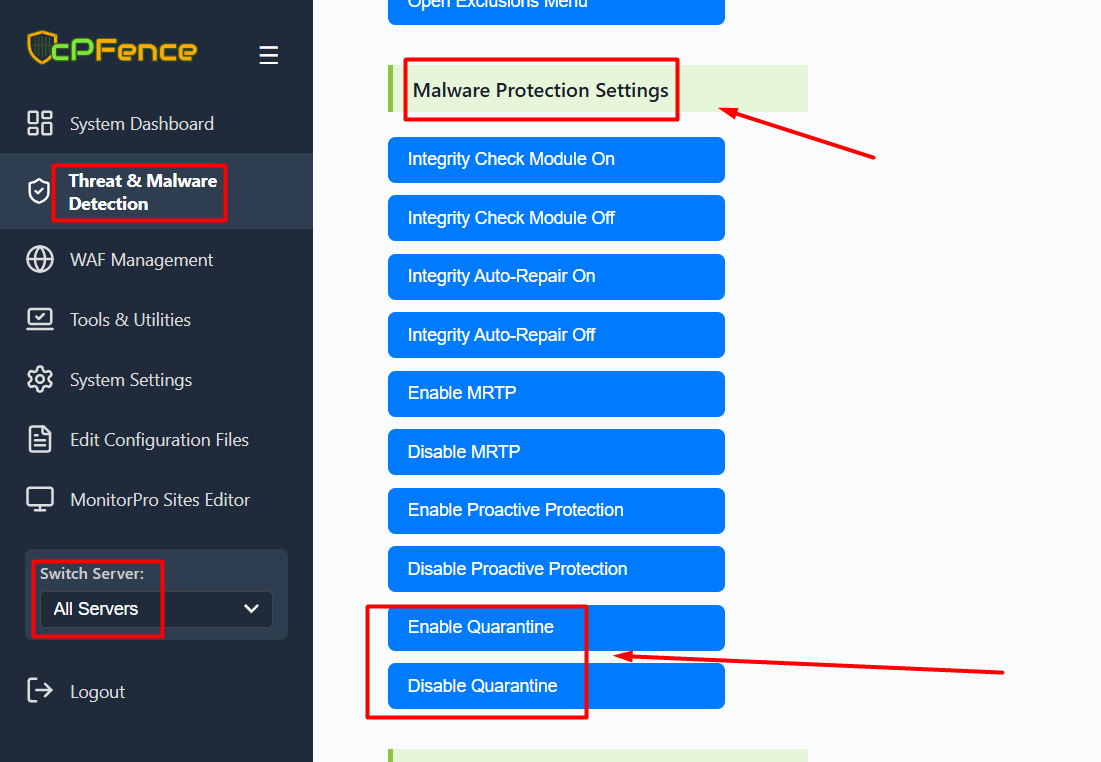
- Open the cPFence WebUI on your Main Control Panel server.
- Go to: Threat & Malware Detection → Malware Protection Settings
- Click Enable Quarantine to activate or Disable Quarantine to turn off automatic isolation.
Managing Auto Quarantine via CLI
You can also manage quarantine settings directly from the terminal using the commands below:
- Enable Auto Quarantine:
cpfence --enable-quarantine- Disable Auto Quarantine:
cpfence --disable-quarantine- Run Full Scan Without Quarantine: (to safely review flagged files before enabling auto-quarantine)
cpfence --full-scanQuarantine Directory
All quarantined files are stored at:
/opt/cpfence/quarantined/You can review or restore files from this directory as needed. For details, refer to our guide: How to Restore Files from Quarantine.
Need Further Assistance?
If you encounter any issues or need additional help, feel free to reach out to our support team via your client portal.
